In the professional solar industry, the quality of the installation is just as critical as the quality of the hardware. For installers, distributors, and energy solution providers, a “clean” installation means more than just aesthetic appeal; it translates to reduced O&M costs, higher system reliability, and long-term customer satisfaction.
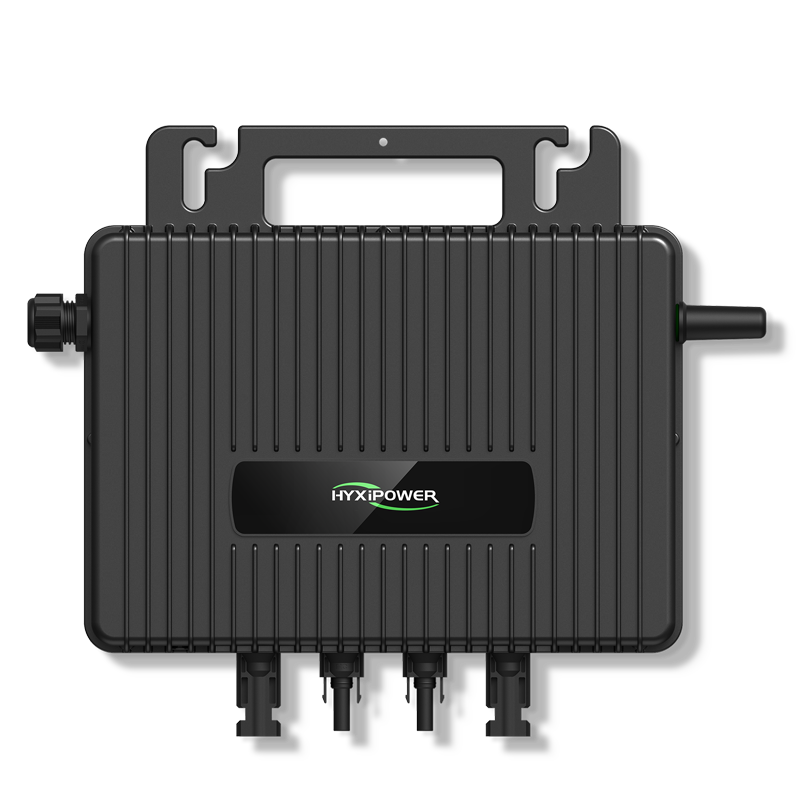
When deploying a microinverter solar system, especially one utilizing the high-efficiency HYXI inverter 2-in-1 series, there are specific technical considerations that can make the difference between a standard setup and a high-performance energy asset. Below are the essential professional tips for mastering the installation of dual-input microinverter systems.
- Optimize Your Layout for the 2-in-1 Architecture
Unlike traditional string systems or single-input units, the dual input microinverter requires strategic panel mapping. The HYXI 2-in-1 series (M600-M1000) allows two modules to feed into one inverter, which significantly reduces the balance of system (BOS) components.
Pro Tip: Group modules in pairs that share similar orientations and shading profiles. Although the HYXI inverter features independent MPPTs for each input, keeping paired modules in similar environmental conditions simplifies your wiring runs and ensures the most consistent thermal performance across the unit.
Mapping: Always create a digital “as-built” map of the microinverter serial numbers relative to the physical PV modules. HYXI’s smart monitoring platform relies on this map for its precise fault positioning feature, allowing you to identify a specific underperforming panel without getting on the roof.
- Managing High-Current Modules (16A Threshold)
The industry trend toward large-format, high-power modules means that current management is more important than ever. A common installation error is using older microinverters with modern 600W+ panels, leading to significant “clipping” losses.
The HYXI inverter 2-in-1 is specifically engineered for high-current compatibility, supporting a max input current of 16A per channel.
Compatibility Check: Before installation, verify that the short-circuit current (Isc) of your chosen PV module does not exceed the inverter’s rated limits.
Oversizing: HYXI supports up to 150% DC/AC oversizing. For energy solution providers in regions with low irradiance, oversizing the DC side can provide a much flatter and more productive AC power curve throughout the day.
- Thermal Management and Airflow Best Practices
Microinverters are installed in the harshest environment of a solar system—directly under the hot panels on the roof. While the HYXI 2-in-1 is designed with natural convection cooling and can operate at ambient temperatures up to 65°C, proper spacing is essential.
Vertical Spacing: Ensure there is at least 2cm–3cm of clearance between the roof surface and the inverter, and another 2cm between the inverter and the bottom of the solar module. This “chimney effect” allows air to flow freely, preventing thermal throttling.
Avoid Obstructions: Never mount the inverter in a location where debris, leaves, or bird nests can accumulate around the cooling fins. A clean microinverter solar installation is a cool one.
- Master the iMesh and Communication Setup
Reliable data is the backbone of modern solar O&M. One of the standout features of the HYXI inverter is its robust communication options, including Sub-1G, WiFi, and the innovative iMesh technology.
Gateway Placement: For systems using a DTU (Data Transfer Unit) or Gateway, ensure it is placed centrally relative to the microinverter array. Avoid placing the gateway behind thick concrete walls or metal obstructions that could interfere with the signal.
Antenna Orientation: If your HYXI model uses external antennas, ensure they are tightened and oriented as per the manual to maximize signal strength. A stable connection allows for seamless Over-the-Air (OTA) firmware updates, ensuring the system stays “future-proof” without a site visit.
- Wiring and Grounding: Ensuring Electrical Integrity
In a microinverter solar setup, the AC trunk cable acts as the primary power bus. Poor cable management is the number one cause of system failures over time.
Cable Bending Radius: Avoid sharp bends in the AC trunk cables. Use high-quality UV-rated cable clips to secure the AC bus to the racking, ensuring no cables are touching the roof surface where they could be damaged by ice or water runoff.
Grounding Continuity: While many modern racking systems offer integrated grounding, always verify that each HYXI unit is properly bonded according to local electrical codes. The HYXI 1000-S/SW series includes a dedicated grounding point to facilitate this.
Technical Quick-Reference for Installers: HYXI 2-in-1
| Installation Step | Technical Requirement | HYXI Specification |
| Input Connection | DC Input Compatibility | 16A Max per Input |
| Startup Voltage | Low-Light Wakeup | 22V (Ultra-low) |
| AC Connection | Max Units per Branch | See manual (Model specific) |
| Environment | Protection Level | IP67 (Waterproof) |
| Safety | Rapid Shutdown | Integrated (No extra hardware) |
| O&M | Fault Detection | 99% via Smart IV Scanning |
6.Commissioning and Final Verification
Once the physical installation is complete, the commissioning phase begins. Using the HYXI Smart App, installers can quickly provision the system.
The “No-Load” Check: Before leaving the site, verify that each HYXI inverter is communicating with the gateway and that both inputs on the 2-in-1 units are showing active DC voltage.
Safety Compliance: Verify that the system responds correctly to a grid-disconnection test. Since the microinverters operate at a safe DC voltage (<60V), they meet the most stringent safety regulations inherently, but a functional test is always a B2B best practice.
Conclusion: Professional Results with HYXI
Successful microinverter solar installations are built on a foundation of attention to detail and high-performance hardware. By following these essential tips and leveraging the advanced features of the HYXI inverter 2-in-1 series, installers can significantly reduce their time on the roof while providing a system that is safer, more efficient, and easier to maintain.
For distributors and energy solution providers, the HYXI M-Series offers the “Super Value” of high current compatibility and the “Super Reliability” of an IP67-rated, naturally cooled design. When your installation team is equipped with the right knowledge and the right technology, every project becomes a showcase of solar excellence.